NGINX is an open-source web server used by more than 409 million websites and over 63% of the world’s top 10,000 websites.
Similarities between Nginx & Apache:

Method 1:


Command : chkconfig nginx on

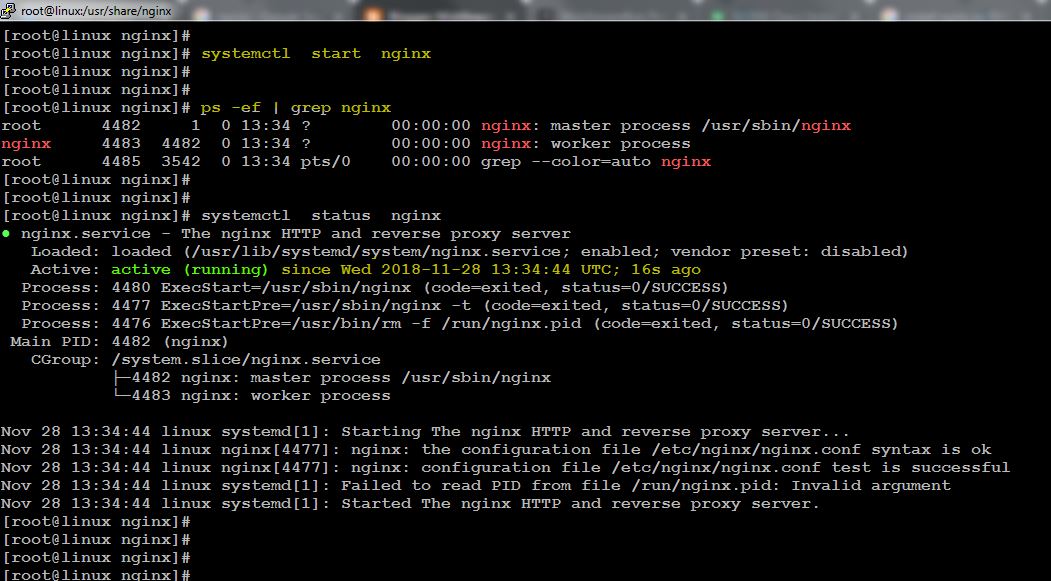
Step 4: Start the nginx through command.
Command: systemctl start nginx

Step 5: Check the Nginx version.
Command: nginx -V

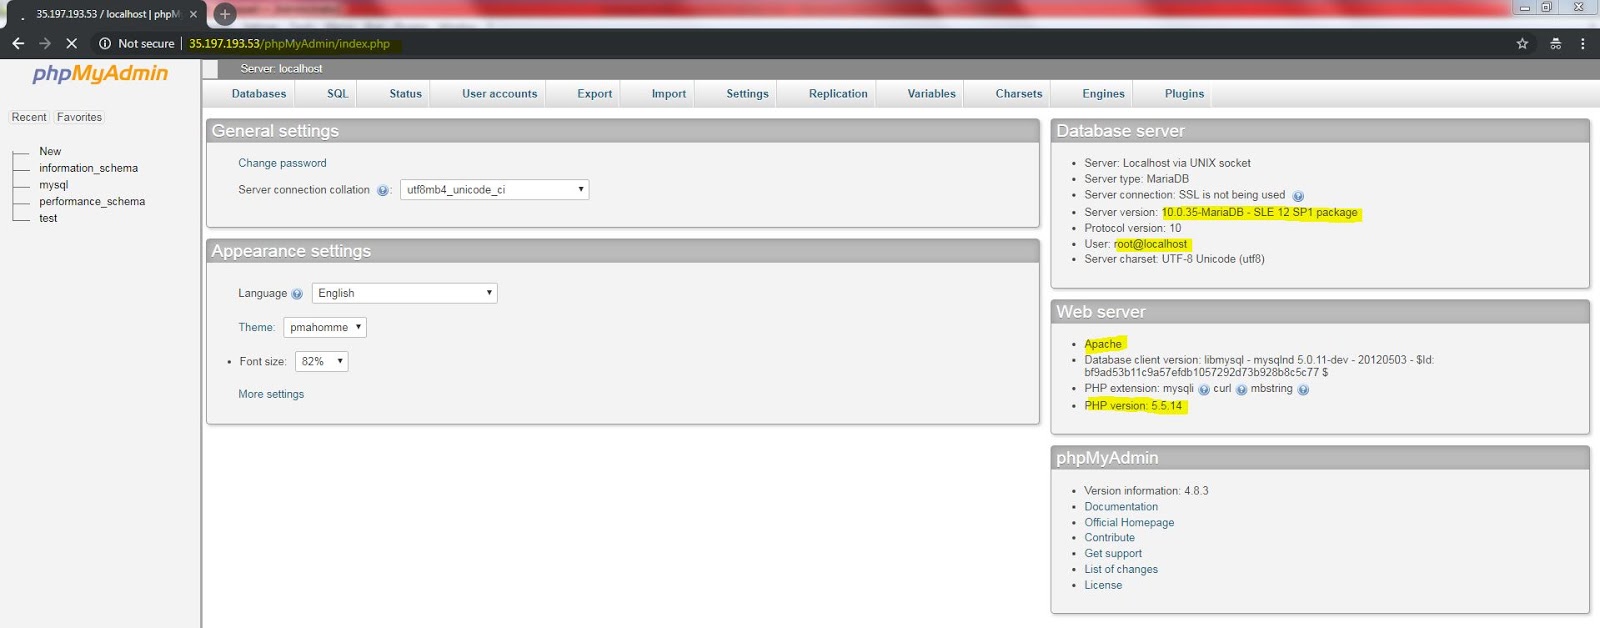
Step 6: Check through the browser, use your IP address.

Step 7: "Nginx" directories and its descriptions.
Step 8: "Nginx" useful commands and its descriptions.
Nginx-Docs link:
https://drive.google.com/drive/folders/1jg43W_m0D72tKU5yK4nVEqUuLEYy3pP9
Reference links :
https://www.nginx.com/resources/wiki/
http://nginx.org/en/docs/
https://docs.nginx.com/nginx/admin-guide/
https://www.digitalocean.com/community/tutorials/
https://docs.nginx.com/nginx/admin-guide/installing-nginx/installing-nginx-plus/
Thanks, folks :-)
NGINX Inc. is the company that created that software, and they sell NGINX Plus and more software products to IT professionals in companies all over the globe.
1. Free and open source software.
2. Community for the users, reviewing code.
3. Can be Added functionality through dynamic modules.
4. Reverse Proxy servers can be done.
5. Event-based processing for the large number simultaneous connections.
Differences between Nginx & Apache:

Why Nginx?
- . Market-leading web server.
- . It’s too efficient & easy to enable 3rd party modules.
- . It's consistent in performance under heavy load.
- . Needed fewer hardware resources to serve the requests.
- . Easy to install and configure.
- . Upgrade on running instance, no downtime needed during the up-gradation of Nginx.
- . Scalable in the concurrent connection handling.
- . NGINX is one of a handful of servers written to address the C10K problem.
Two methods to install Nginx on the server :
1. Using Pre-compiled binaries.
2. Compile using a Source-file.
Method 1:
I am installing Nginx on "google-cloud" RHEL 7 server.
Step 1: Prepare the build environment.
To ensure your build environment has these prerequisites installed, run the appropriate command.
Command : yum install -y gcc gcc-c++ make pcre-devel zlib-devel expat-devel mailcap openssl*

Step 2: Install Nginx using the below command.
Command: yum install nginx

Step 3: Create a service of nginx using below command.
Command : chkconfig nginx on

Step 4: Start the nginx through command.
Command: systemctl start nginx
Step 5: Check the Nginx version.
Command: nginx -V

Step 6: Check through the browser, use your IP address.

Step 7: "Nginx" directories and its descriptions.
Directories
|
Descriptions.
|
/etc/nginx/
|
Config dir.
|
/etc/nginx/nginx.conf
|
Master/Global config file.
|
/usr/share/nginx/html
|
Document root directory
|
/etc/nginx/conf.d
|
Extra configuration files.
|
/var/log/nginx
|
log location folder (access.log & error.log).
|
/usr/sbin/nginx
|
Main nginx file location.
|
Step 8: "Nginx" useful commands and its descriptions.
Commands
|
Descriptions.
|
nginx -s [signal]
|
Signal (Where signal may be one of the following).
|
nginx -s stop
|
Fast Shutdown.
|
nginx -s quit
|
Graceful shutdown (to stop nginx processes with waiting for
the worker processes to finish serving current requests). |
nginx -s reload
|
Reloading the configuration file (Changes made in the configuration file will not be applied until the command to reload configuration is sent to Nginx or it is restarted).
|
nginx -s reopen
|
Reopening the log files.
|
nginx -t
|
To test the configuration file (nginx.conf).
|
nginx -T
|
To test configuration, dump it and exit.
|
nginx -V
|
Show version and configure options then exit.
|
nginx -v
|
Show version and exit.
|
nginx -h
|
This is print help.
|
nginx -c filename
|
Specify which configuration file NGINX should use instead of the default.
|
nginx -T | less
|
To test configuration, dump it & page wise view.
|
https://drive.google.com/drive/folders/1jg43W_m0D72tKU5yK4nVEqUuLEYy3pP9
Reference links :
https://www.nginx.com/resources/wiki/
http://nginx.org/en/docs/
https://docs.nginx.com/nginx/admin-guide/
https://www.digitalocean.com/community/tutorials/
https://docs.nginx.com/nginx/admin-guide/installing-nginx/installing-nginx-plus/
Thanks, folks :-)