Step 1: Make sure your profile "Servers" and "Nodeagent" is stopped.
Step 2: Remove the federated node from the "dmgr" (deployment manager
) console.
Command: ./removeNode.sh
Step 3:
Create a two files on /temp directive,
- appserver.props
- portdefs.AppSrv02.props
Where,
appserver.props contains profiles details.
portdefs.AppSrv02.props
contains the new ports, which needs to be update.
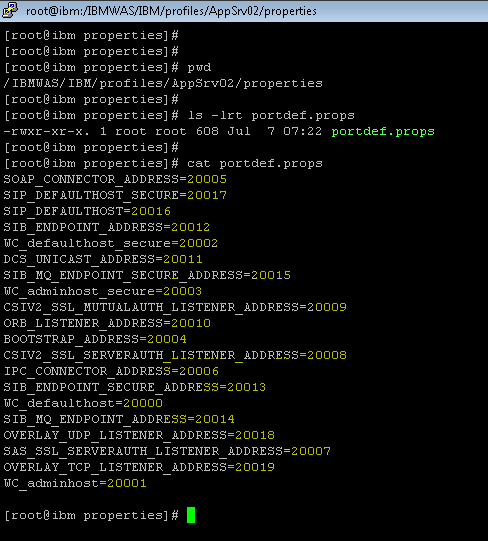
Step 4: Take backup of existing “portdef.props” file OR backup entire profile.
Step 5: Edit file “portdefs.AppSrv02.props”
and paste the existing “portdef.props “ with updated ports
properties
Screenshot: previous ports
Screenshot: updated ports on new file "portdefs.AppSrv02.props".

Step 6: Edit file "appserver.props", provide
the existing profile details & "location of new ports file".
Screenshot: "appserver.props"

Step 7: Navigate to $WAS_HOME/bin & use below command.
./ws_ant.sh -propertyfile /tmp/was_props/appserver.props
-file /IBMWAS/IBM/profileTemplates/default/actions/updatePorts.ant
Where,
./ws_ant.sh is for
WebSphere ant script.
- propertyfile is a location
of newly created appserver.props file.


Now you have updated the new ports successfully.
Reference link :
https://www.ibm.com/support/knowledgecenter
https://www.ibm.com/support/knowledgecenter

No comments:
Post a Comment