
Screenshot 1:

Step 2: Click on servers > server types > Web server
Already on one webserver on Port 443 & 80 is working.
Screenshot 2 :

Step 3: To Create a New webserver [ NEW_webserver ] in mycase .
Click on New..
Screenshot 3 :

Step 4: Provide a server name > Next .
Screenshot 4:

Step 5: Default IHS selected > Next .
Screenshot 5:

Step 6: Provide NEW port no [ 5080 for http ] in mycase >> Next
Screenshot 6:

Step 7: Review Summary >> Finish .
Screenshot 7:

Step 8: Click on Review.
Screenshot 8:

Step 9: Select Synchronize changes with Nodes >> Save >> OK .
Screenshot 9:

Step 10 : Now we have created the NEW_webserver , with status stopped.
Screenshot 10 :

Step 11 : Copy the working http.conf with [ NEWhttp.conf ] in my case.
Screenshot 11:

Step 12 : Open the Newhttp.conf and make changes.
1 >> PID File Location
2 >> Error logs location.
3 >> Access logs location.
4 >> Servername
5 >> Listen Address From (:80 ) and ( :443 ) to (5080) and (50443) in mycase.
6 >> Virtual host port and ipaddress.
7 >> New Webserver Plugin file location.
Screenshot 12-1 :

Screenshot 12-1 :

Step 13 : Use Diff command to check the Diffrence between them.
Screenshot 13:

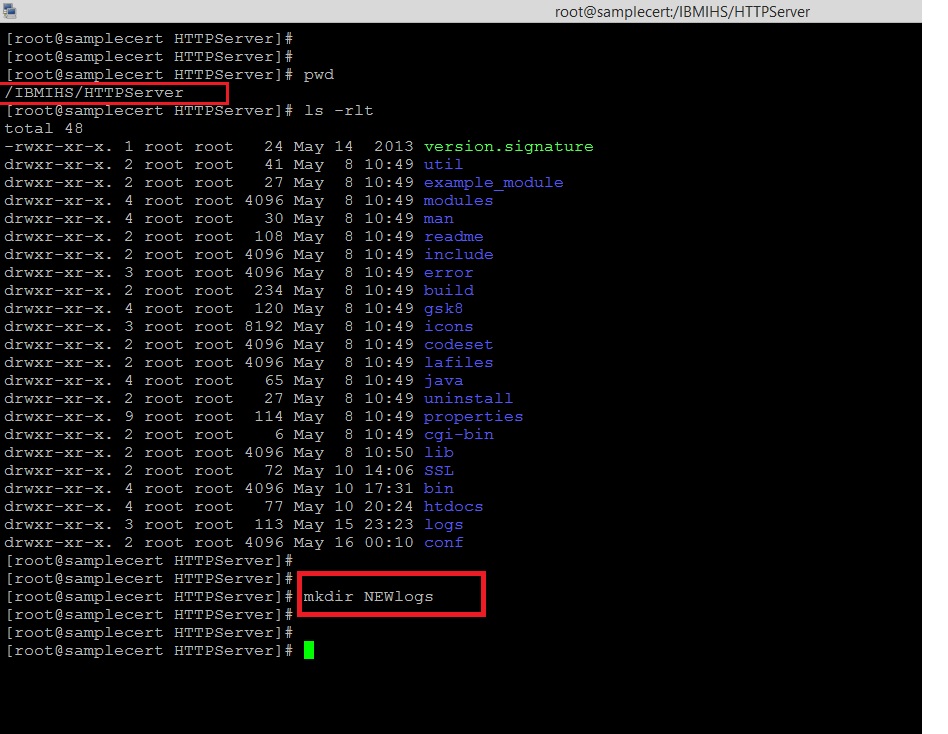
Step 14: Make a new folder of NEWlogs on IHS home .
Screenshot 14:
Step 15 : go to Webserver > NEW_webserver >> Configuration file name > Apply > Review > Synchronize changes with Nodes > Save.

Change the paramerts from console also.
Screenshot 15:
Step 16 : Changes in log file from console >> Apply > Review > Synchronize changes with Nodes > Save.
Screenshot 16-1:

Screenshot 16-2:

Step 17 : Review Virtual Hosts from Console >>
Screenshot 17:

Step 18 : Add Virtual Hosts from Console .
Environment > Virtual Hosts > default_host > Host Aliases
Screenshot 18-1 :

Screenshot 18-2 : Add a new Virtual Hosts Port : (5080) and (50443)

Step 19: Add 5080 and 50443 >> >> Apply > Review > Synchronize changes with Nodes > Save.
Screenshot 19 -1:

Screenshot 19-2:

Step 20: Review host entries.
Screenshot 20:

Step 21: Select Enterprise Applications > calendar_war > Virtual hosts > select default_host > OK.
Screenshot 21:

Step 22 : Now Start the NEW_webserver from shell.
Screenshot 22:

Step 23: Generate and Propagate plugins from console.
Screenshot 23:

Step 24 : Manage the deployed application from console.
Screenshot 24:

Clear the logs and Restart the Application.
Step 25 : Check the IHS at port 5080
Screenshot 25:

Step 26 : Check the calendar.war Application at port 5080
Screenshot 26:

Step 27 : Check the IHS at port 50443
Screenshot 27:

Step 28 : Check the calendar.war Application at port 50443
Screenshot 28-1:

Screenshot 28-2:

Thanks :-) Middleware Team :-) !

No comments:
Post a Comment