What is NGINX Plus?
Step 1: Open the Nginx Plus URL link: https://cs.nginx.com/repo_setup
Step 2: Choose your OS and distribution (RHEL 7.4+ in my case).

Choose Enterprise version OR you need to choose free trial request for 30 days URL
https://www.nginx.com/free-trial-request
step 4: Register and you will receive a trail mail for 30 days, from there need to download nginx-repo.key & nginx-repo.crt files.


**********************************************************
Since this first installation, you will face "No such file or directory this"
Step 1) If you already have old NGINX packages in your system, back up your configs and logs:
Command:
sudo cp -a /etc/Nginx /etc/nginx-plus-backup
sudo cp -a /var/log/nginx /var/log/nginx-plus-backup
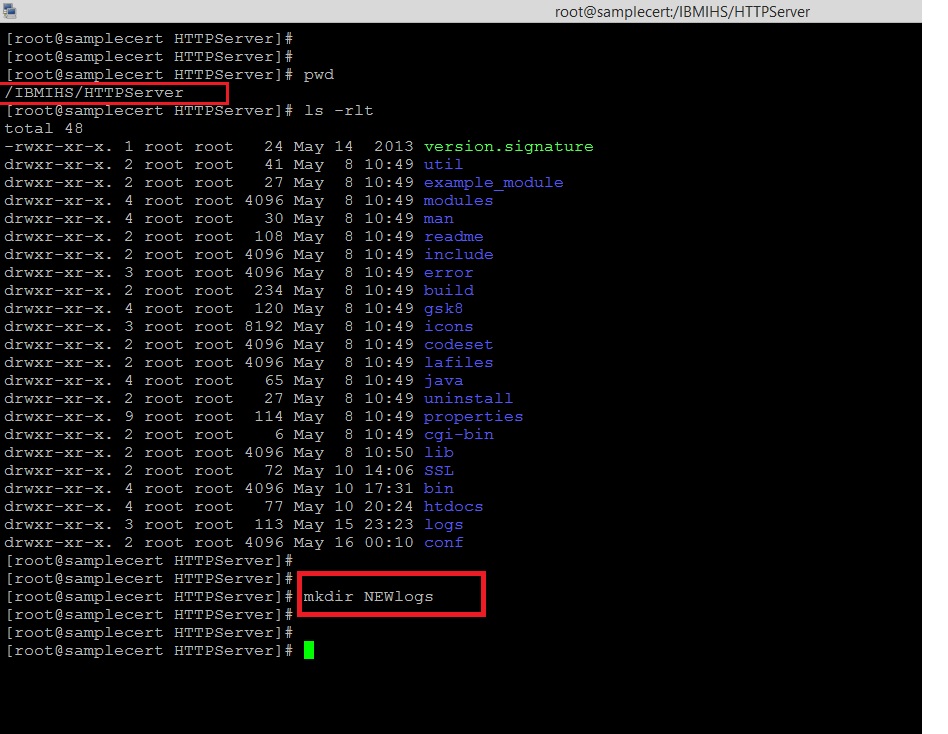
Step 2) Create the /etc/ssl/nginx/ directory:
Command:
sudo mkdir -p /etc/ssl/nginx

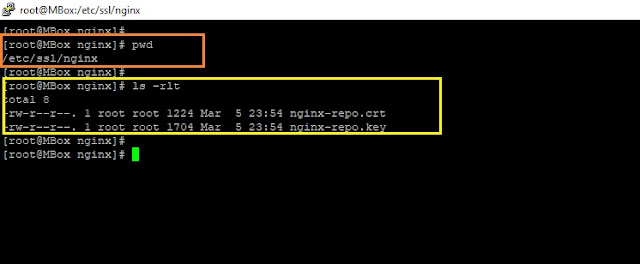
Step 3) Log in to NGINX Customer Portal and download the following two files.
nginx-repo.key
nginx-repo.crt
Step 4) Copy the above two files to the RHEL/CentOS/Oracle Linux server into "/etc/ssl/nginx/" directory. Use your SCP client or other secure file transfer tools.
Step 5) Install prerequisite packages.
Command:
sudo yum install ca-certificates
this step will install CA-certificates to your local OS server from REDHAT.

Step 6) Add NGINX Plus repository by downloading the file nginx-plus-7.4.repo to "/etc/yum.repos.d"
Download the "nginx-plus-7.4.repo" and copy this file to "/etc/yum.repos.d" location.

Step 7) Install the NGINX Plus package.
Command:
sudo yum install nginx-plus

Step 8) Check the nginx binary version.
Command:
nginx -v
OR
Command:
nginx -V

Step 9) start the Nginx.
Command:
nginx
Step 10) To verify that NGINX is returning requests.
Command:
curl localhost

****************************************************************
Nginx-Docs link:
https://drive.google.com/drive/folders/1jg43W_m0D72tKU5yK4nVEqUuLEYy3pP9
Reference links :
https://cs.nginx.com/repo_setup
https://www.nginx.com/products/nginx/#features
https://www.nginx.com/free-trial-request
https://www.nginx.com/blog/performance-tuning-tips-tricks/
Thanks :-)
- NGINX Plus is a software load balancer, web server, and content cache built on top of open source NGINX.
- NGINX Plus has exclusive enterprise‑grade features beyond what's available in the open-source offering, including session persistence, configuration via API, and active health checks.
- Use NGINX Plus instead of your hardware load balancer and get the freedom to innovate without being constrained by infrastructure.
Step 1: Open the Nginx Plus URL link: https://cs.nginx.com/repo_setup
Step 2: Choose your OS and distribution (RHEL 7.4+ in my case).

Choose Enterprise version OR you need to choose free trial request for 30 days URL
https://www.nginx.com/free-trial-request
step 4: Register and you will receive a trail mail for 30 days, from there need to download nginx-repo.key & nginx-repo.crt files.

- Reference mail to download "nginx-repo.crt" & "nginx-repo.key" file

**********************************************************
Since this first installation, you will face "No such file or directory this"
Step 1) If you already have old NGINX packages in your system, back up your configs and logs:
Command:
sudo cp -a /etc/Nginx /etc/nginx-plus-backup
sudo cp -a /var/log/nginx /var/log/nginx-plus-backup
Step 2) Create the /etc/ssl/nginx/ directory:
Command:
sudo mkdir -p /etc/ssl/nginx

Step 3) Log in to NGINX Customer Portal and download the following two files.
nginx-repo.key
nginx-repo.crt
Step 4) Copy the above two files to the RHEL/CentOS/Oracle Linux server into "/etc/ssl/nginx/" directory. Use your SCP client or other secure file transfer tools.
Step 5) Install prerequisite packages.
Command:
sudo yum install ca-certificates
this step will install CA-certificates to your local OS server from REDHAT.

Step 6) Add NGINX Plus repository by downloading the file nginx-plus-7.4.repo to "/etc/yum.repos.d"
Download the "nginx-plus-7.4.repo" and copy this file to "/etc/yum.repos.d" location.

Step 7) Install the NGINX Plus package.
Command:
sudo yum install nginx-plus

Step 8) Check the nginx binary version.
Command:
nginx -v
OR
Command:
nginx -V

Step 9) start the Nginx.
Command:
nginx
Step 10) To verify that NGINX is returning requests.
Command:
curl localhost

****************************************************************
- "Nginx" directories and its descriptions.
Directories
|
Descriptions.
|
/etc/nginx/
|
Config dir.
|
/etc/nginx/nginx.conf
|
Master/Global config file.
|
/usr/share/nginx/html
|
Document root directory
|
/etc/nginx/conf.d
|
Extra configuration files.
|
/var/log/nginx
|
log location folder (access.log & error.log).
|
/usr/sbin/nginx
|
Main nginx file location.
|
- "Nginx" useful commands and its descriptions.
Commands
|
Descriptions.
|
nginx -s [signal]
|
Signal (Where signal may be one of the following).
|
nginx -s stop
|
Fast Shutdown.
|
nginx -s quit
|
Graceful shutdown (to stop Nginx processes with waiting for
the worker processes to finish serving current requests). |
nginx -s reload
|
Reloading the configuration file (Changes made in the configuration file will not be applied until the command to reload configuration is sent to Nginx or it is restarted).
|
nginx -s reopen
|
Reopening the log files.
|
nginx -t
|
To test the configuration file (nginx.conf).
|
nginx -T
|
To test configuration, dump it and exit.
|
nginx -V
|
Show the version and configure options then exit.
|
nginx -v
|
Show version and exit.
|
nginx -h
|
This is print help.
|
nginx -c filename
|
Specify which configuration file NGINX should use instead of the default.
|
nginx -T | less
|
To test configuration, dump it & page wise view.
|
Nginx-Docs link:
https://drive.google.com/drive/folders/1jg43W_m0D72tKU5yK4nVEqUuLEYy3pP9
Reference links :
https://cs.nginx.com/repo_setup
https://www.nginx.com/products/nginx/#features
https://www.nginx.com/free-trial-request
https://www.nginx.com/blog/performance-tuning-tips-tricks/
Thanks :-)